http://www.themodernquiltguild.com/
Showing posts with label String Piecing. Show all posts

Tuesday, September 25, 2012

LEMONADE STAND


From Espresso Junction to Lemonade Stand.  The original pattern was done in shades of brown with black accents.  I wanted a yellow quilt so I changed mine to yellows and teals/blues and re-named it "Lemonade Stand".
These were the fabrics I wanted to use.  To these I added some leftover strips from some other projects.


The first step was to create strata strips with the yellows that would be cut into blocks.


Next, I chose the teals/blues for this quilt.  The fabric at the very top of this picture is the fabric to be used to make the snowball blocks with the strata squares.

The other fabric used for making the snowball block was a neutral.  It is difficult to see the pattern in this fabric, but the name of the fabric is "Whitecaps".
I


I started making the snowball blocks.  There are  a lot of these to make and all are not configured the same way.


Trimming off the corners of the snowball blocks left these little triangles.  Not sure how I will use them, but, for now, I will simply hold on to them and see what comes to mind later.
A sneak preview of four blocks.  Do I like the color combo??? 
I.  LOVE.  IT!!!


First section is complete!


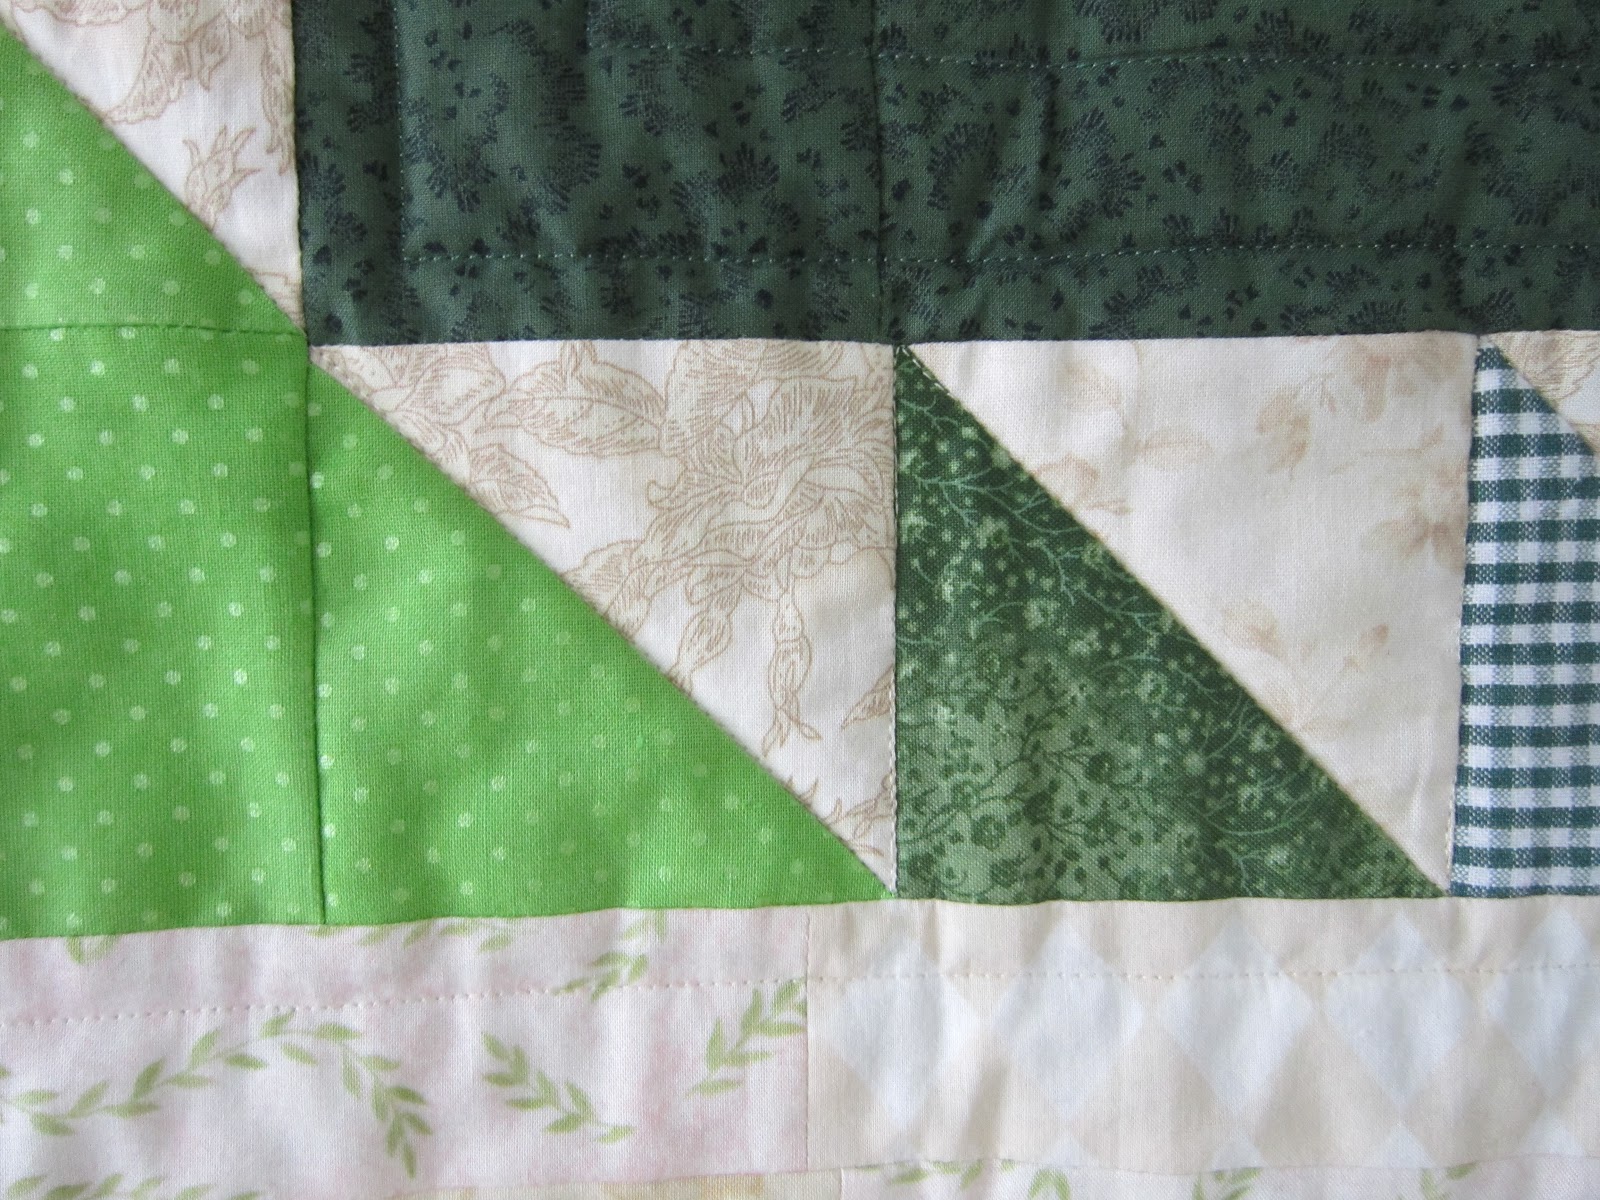
The first side inner borders are added.  Love the border triangle color contrast.

It has taken me a little while to get back to finishing this project.  Here is the top with the teal/blues border added.


Guess who is sitting on top of the quilt???

I wanted to show you these interesting scissors that a friend bought for me at a Sew and Vac store in Scottsboro, AL when we were on retreat.


I hope you can see that they are curved.  It makes it so much easier to cut around things.  I used them to trim the batting for the quilt sandwich.


I laid the batting out on the floor and put the backing on top of it and used the curved scissors to cut the batting to size.  Since the scissors were curved they did not get caught in the carpet at all.  It was so much easier than using my Dressmaker's Shears.  By the way, they are made be Gingher and only cost me a couple dollars.  I love a bargain.

This backing is made from the leftovers from the front of the quilt.

Of course, Lil Bit has to be in the picture!

The finished quilt hanging on my porch rail in the early morning light.


My friend, Ava, is teaching a class using this pattern at our local quilt shop, Sew Bee It, in November.  She asked if I would let her hang my quilt with her sample of the quilt to show the two different colorways.  I was happy to drop off my quilt to the shop owner to hang for a couple months to promote her class.

Another finish for September!

                                         -sandi


Wednesday, April 18, 2012

SNAPPY BAG

Someone gave me this large bag of selvages.  Many of them are in the blue and green family.


I started string piecing them onto muslin squares.
It looks pretty good.  Some of the strings had very little extra fabric.  Note to self:  when you cut off selvages leave about 1/2" so some of the color will show as they are assembled.

Then I trimmed it up and squared it for my blocks.

I like this.  I made two of them.  One  for the front and one for the back of the little bag.

This old, broken rule came in handy to make the "snap" closures.

This little bag is too cute.  It was so much fun making this in an afternoon.

Here is a link to a wonderful tutorial for making your own Snappy Bag.
http://tatteredgarden.blogspot.com/2010/01/snappy-bag-tutorial.html

                                        -sandi

Saturday, March 17, 2012

SHAMROCKS AND NATIONAL QUILTING DAY

HAPPY ST. PATRICK'S DAY AND NATIONAL QUILTING DAY
I would like to share with you how I designed and constructed this little wall hanging.

I started by making a string-pieced background out of neutral fabrics.  The "strings" were of varying widths. 
I used pages from an old telephone book as my foundation to string piece blocks that were about 11" square.  I cut them apart on the diagonal and used four of the Diagonal Triangles to make the blocks for the background.  I squared them up to 10 inches.  All measurements are given in finished sizes.


I made the "new" fabric for the Shamrocks by sewing together 2" squares until I had a piece about 24" square.


My templates came from a pack of cardboard shamrock hang-ups from the dollar store.  I traced around each template I wanted to use on the wrong side of the new "fabric" I had made.  I left about a half inch all the way around when I cut them out.  This allowed me enough fabric to turn under the edges. I did use spray starch and ironed the edges under so that I could more easily machine applique them to my background.

Assemble the variety of shamrocks in a pleasing order as you like them.


The borders were added next.  The first border is 3" wide.  I chose one green fabric for this.  You could use more if you wanted.    

                                                                                                              The middle border is made up of 3" Half-Square Triangles.   In each corner is a 3" square.

I chose to piece the outer border with 1 1/2" strips cut at random lengths.  I did two rows of these and added Half-Square Triangles in the corners.

I hope you will make one of these.  Add your personal style.  This is just an idea.
If you make one, please share it with me.  I would love to see what someone else does with my idea.

-sandi